Even though most of my posts thus far have been sweets, I don't usually bake nutritionally dead sweet treats to keep at home for myself because I am tempted just by the sight of them. I love to cook for us but I try to keep baking for others, mainly because of my sweet tooth and lack of will power concerning sweets. My husband and I both love chocolate and mint so this was a treat for us (although I did bring just a few to an old friend who had me over for lunch.) For at least a year or two, one of the latest dessert trends has been salted carmel. I've never tasted salted mint frosting before so when I came across this recipe I knew it was perfect for St. Patrick's Day! I found an airy dark chocolate cupcake and I was quite happy that I paired this extremely tasty combination!
My cupcakes couldn't decide how they wanted to look today so they changed their outfits a couple of times. I'll comment on their attire:

Frosted as a swirl with a 1M tip, striped frosting, accented with clover royal icing run outs.
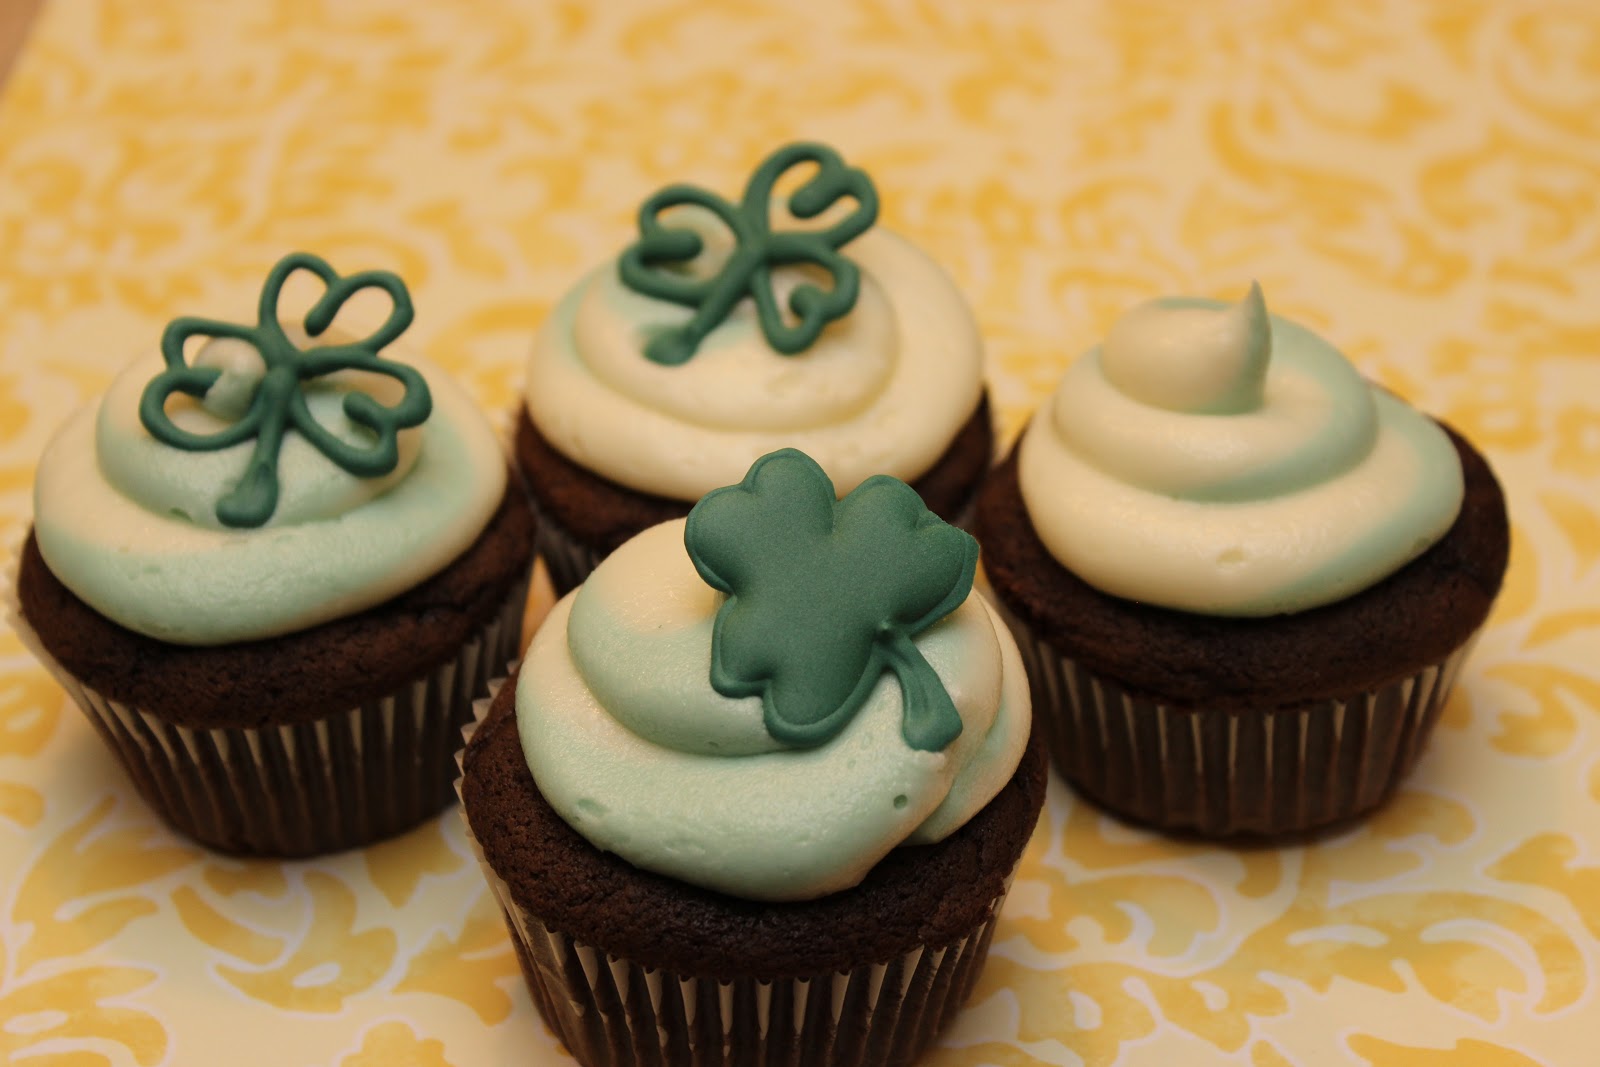
Frosted as a swirl with a 1A tip, two toned frosting, accented with clover royal icing run outs.

And my favorite is....frosted as a swirl with a 1A tip, light green frosting, folded parchment square liner, accented with a clover royal icing run out.
A word on royal icing run outs (also called transfers, or plaques.)
An easy way to add some personality to your cupcakes is to add a little shape or accent to the top in the form of a run out. Any royal icing recipe should work for this, but most recipes make a large amount that will cover a batch of cookies, so it's best to plan ahead and use some left over icing for these and just store them in an air tight container until ready to use. They last a very long time.

I always start by spreading a teeny tiny amount of Nasty Crisco (this is the only name that I will ever call it) on a sheet of wax paper. Work from the top and use piping consistency icing to create your shape, and flood icing to fill it in as you can see in the picture below. Some like to use an in-between consistency to pipe and fill a shape and just skip the outline. If you want a nice dimensional shape, the outline and fill method is best. This way you can build up the inside of the shape and "puff"it up.

There is only one way in which you will want to remove them. Standing up against the counter, place one had away from you behind the shape and one in front. Slide the wax paper over the edge of the counter until it starts to peel away and then use a hand to lift or catch it when it has almost completely removed itself from the paper. Place them on your frosted cupcake right away for the best adhesion.
They really are quite addicting. You can make them ahead of time and also add them to cakes, or glue them with some icing to a plainly iced sugar cookie. They come in handy for those of us who have to break up their baking and decorating into nap time increments. They are also great if you aren't a big fan of food colorings because you can frost your cupcakes with plain white frosting and then add some of these colored run outs, but remove them before eating. They can start to wilt 3 or 4 days later when placed upon buttercream frosting, but hopefully by then your cupcakes are all gone!
I have a feeling a few of these cupcakes are going to jump into my freezer all by themselves so they can pay me a visit later.
No comments:
Post a Comment